
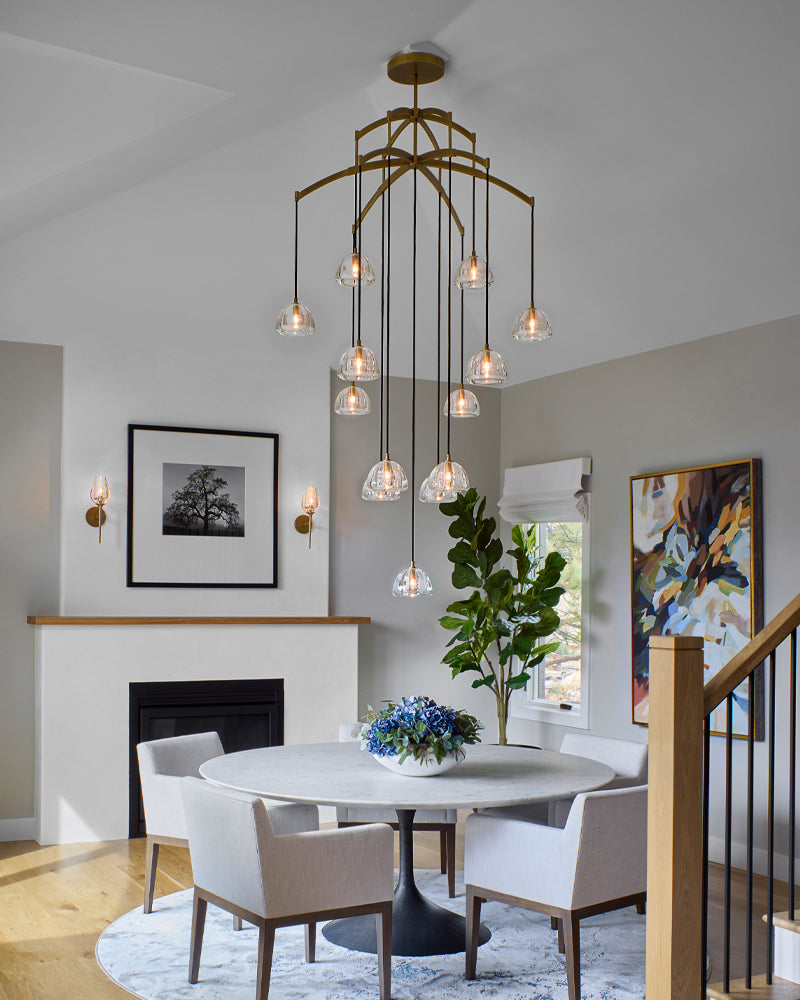


Selecting the right chandelier for your dining space and hanging it at the ideal height is crucial for creating an inviting atmosphere. In this guide, we'll provide you with practical steps to ensure that your lighting choice not only complements your room but also casts a warm, welcoming glow over your table settings. We aim to demystify the process, offering clear, straightforward advice that will empower even those new to DIY projects. Follow along as we help elevate your dining experience with a perfectly positioned chandelier-enhancing both the style and comfort of your gatherings.
How to Choose the Right Size and Style for Your Chandelier
When it comes to hanging a chandelier, size really does matter. Let's walk through how to find the right fit for your dining space.please take it for reference as following:
Matching Chandelier Size to Your Table
Your chandelier should complement, not overwhelm or underwhelm your dining table. Here's a handy rule of thumb: The width of your chandelier should be about one-half to two-thirds the width of your table. For length, if you have a long dining table, consider a linear chandelier or even two smaller ones to maintain balance.
Style Sync: Choosing a Chandelier That Matches Your Room
Think of your chandelier as a piece of jewelry for your dining room-it should suit your style but also play nicely with the rest of the room's decor. A modern minimalist space? Look for clean lines and simple geometric shapes. Cozy, traditional setting? A chandelier with warm metals and intricate details could be perfect. Remember, it's all about cohesion, not just the chandelier's look in isolation.
Ceiling Height Considerations
The height of your ceiling shouldn't be an afterthought. Standard 8-foot ceilings will need a chandelier that hangs about 30-34 inches above the dining table. But got taller ceilings? Add 3 inches to the hanging height for every extra foot of ceiling height. This little adjustment ensures your chandelier isn't lost in the space and the light is where you want it-on the table, making your meals look inviting.
What Do You Need to Prepare Before Installing a Chandelier
Before you start hanging your chandelier, it's time to get prepared. Having everything in order upfront can save you a headache later on.
The Must-Haves: Tools and Materials
Here's your checklist to ensure you're all set:
- Ladder: To reach the ceiling comfortably.
- Tape measure: Precision is key for height and placement.
- Pencil or painter's tape: To mark where you'll install.
- Drill with drill bits: For installing the anchor or hook.
- Screwdriver: For tightening screws or adjusting parts.
- Wire stripper: If any wire adjustments are needed.
- Electrical wire connectors: To safely connect the wires.
- Voltage tester: For safety checks on electrical wiring.
- Safety glasses and gloves: Always protect yourself.
- Chandelier mounting kit: Usually provided with your purchase (check this before you begin).
- Helper: An extra set of hands goes a long way.

Safety First: Electrical Prep Steps
Electrical work is no joke, so take these precautions seriously:
- Turn off the power at the breaker box to avoid any shocking experiences.
- Use a voltage tester on the light switch and existing light fixture to confirm there's no power running.
- Clear the area-make sure the table is moved and the floor is clutter-free to prevent trips and falls.
Center Stage: Finding Your Table's Sweet Spot
For that just-right placement, follow these tips:
- Measure the length and width of your table.
- Divide those numbers by two to find the center point.
- Mark the center directly above the table on the ceiling with your pencil or a piece of painter's tape. Make sure the table is exactly where you want it before you do this-it's all about alignment!
With these steps covered, you're on solid ground to start the installation process. Remember, this is about making your space more beautiful and functional, so take your time and make sure everything is just right.
What Is the Ideal Height for Hanging a Chandelier?
With your chandelier picked out and your tools ready, it's time to talk about how high-or low-your chandelier should go.
The Golden Rule of Chandelier Height
There's a sweet spot for hanging your chandelier: typically 30 to 34 inches above the surface of your dining table for an 8-foot ceiling. This range ensures no bumped heads and that the chandelier is neither too imposing nor too distant.
Tailoring to Your Ceiling
If your ceiling is higher than 8 feet, add 3 inches to the suspension height for each additional foot. So, if you have a 9-foot ceiling, aim for 33 to 37 inches above the table. It's all about scaling the space so that your chandelier feels like it belongs.
Size Matters: Adjusting for Chandelier Bulk
Got a grand, statement-making chandelier? Its size could influence how high you hang it. Larger fixtures might need to be raised a couple of inches to avoid overwhelming the space, while petite ones can hang a bit lower to make an intimate impact. Keep in mind this isn't just about measurements-it's about how the room feels with the light in place.
Remember, these are guidelines to get you started, but trust your eye as well. If something looks off, it probably is. Test out the height before finalizing anything to see how it feels in your space.
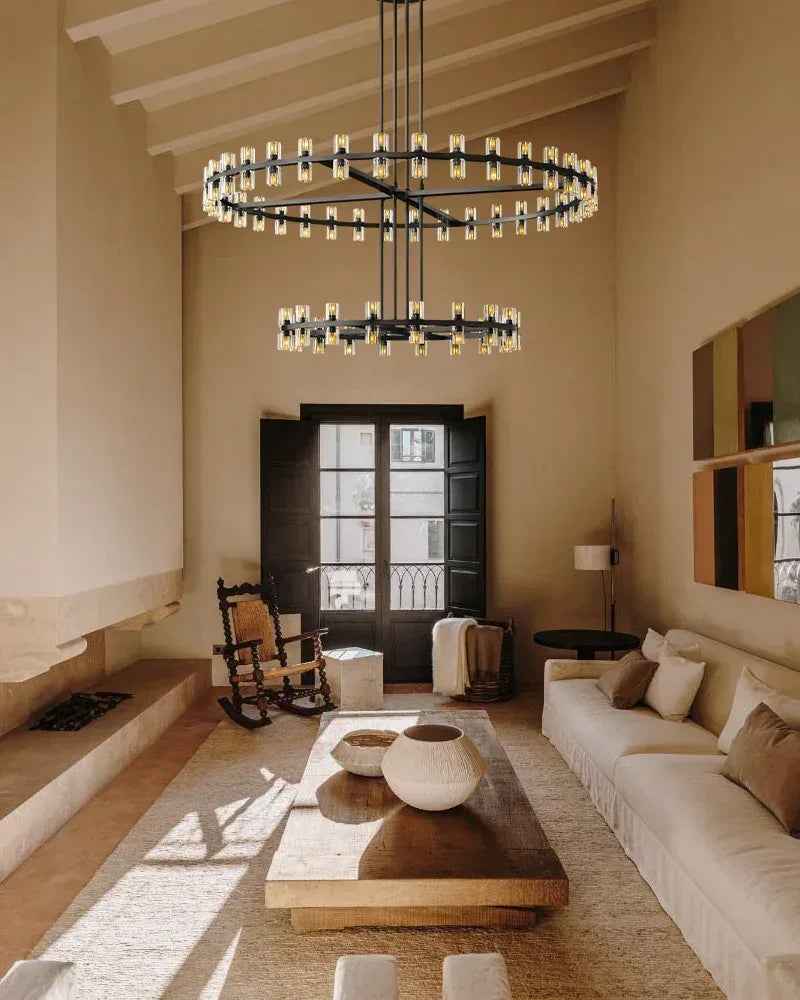
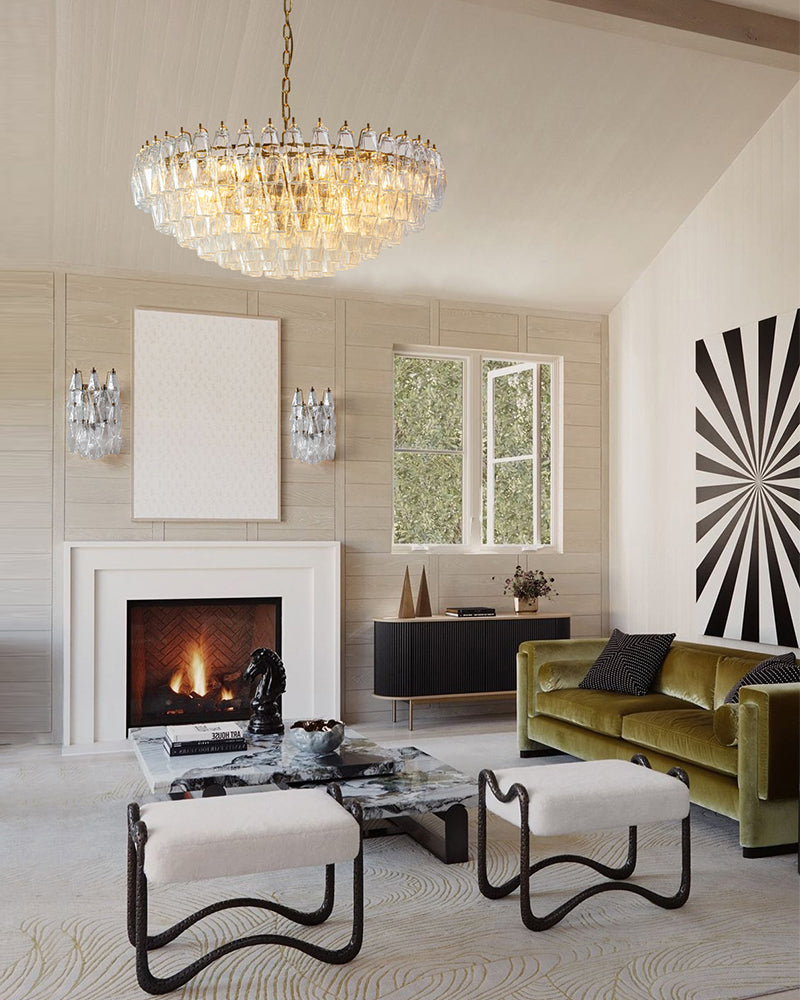
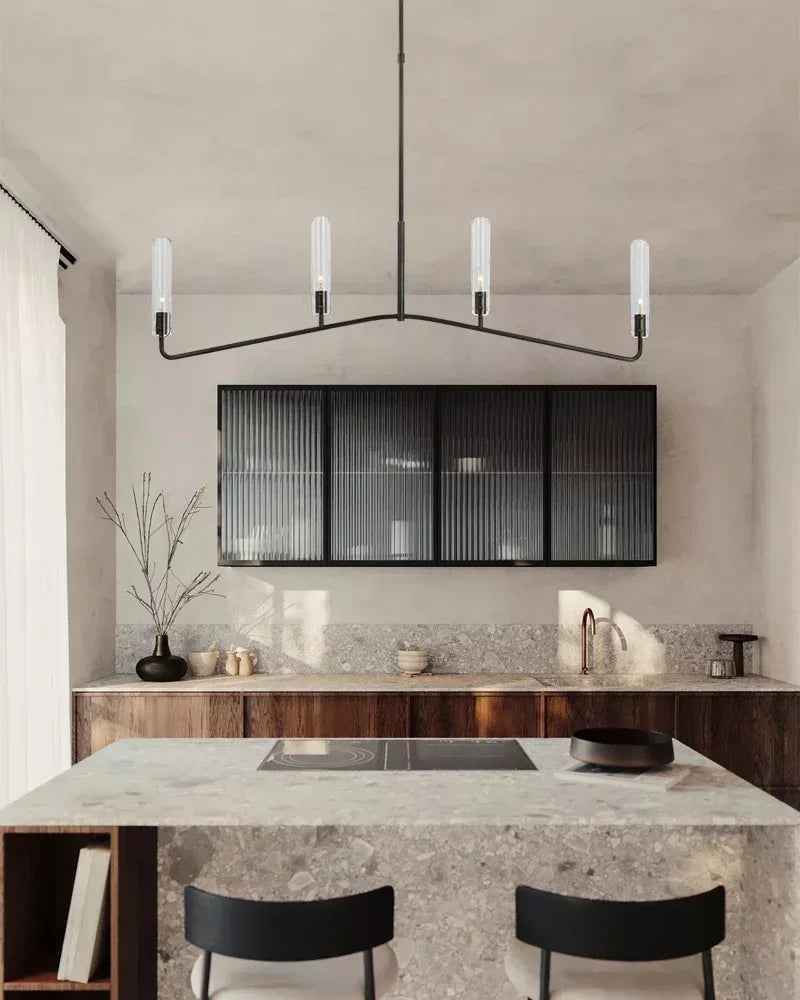
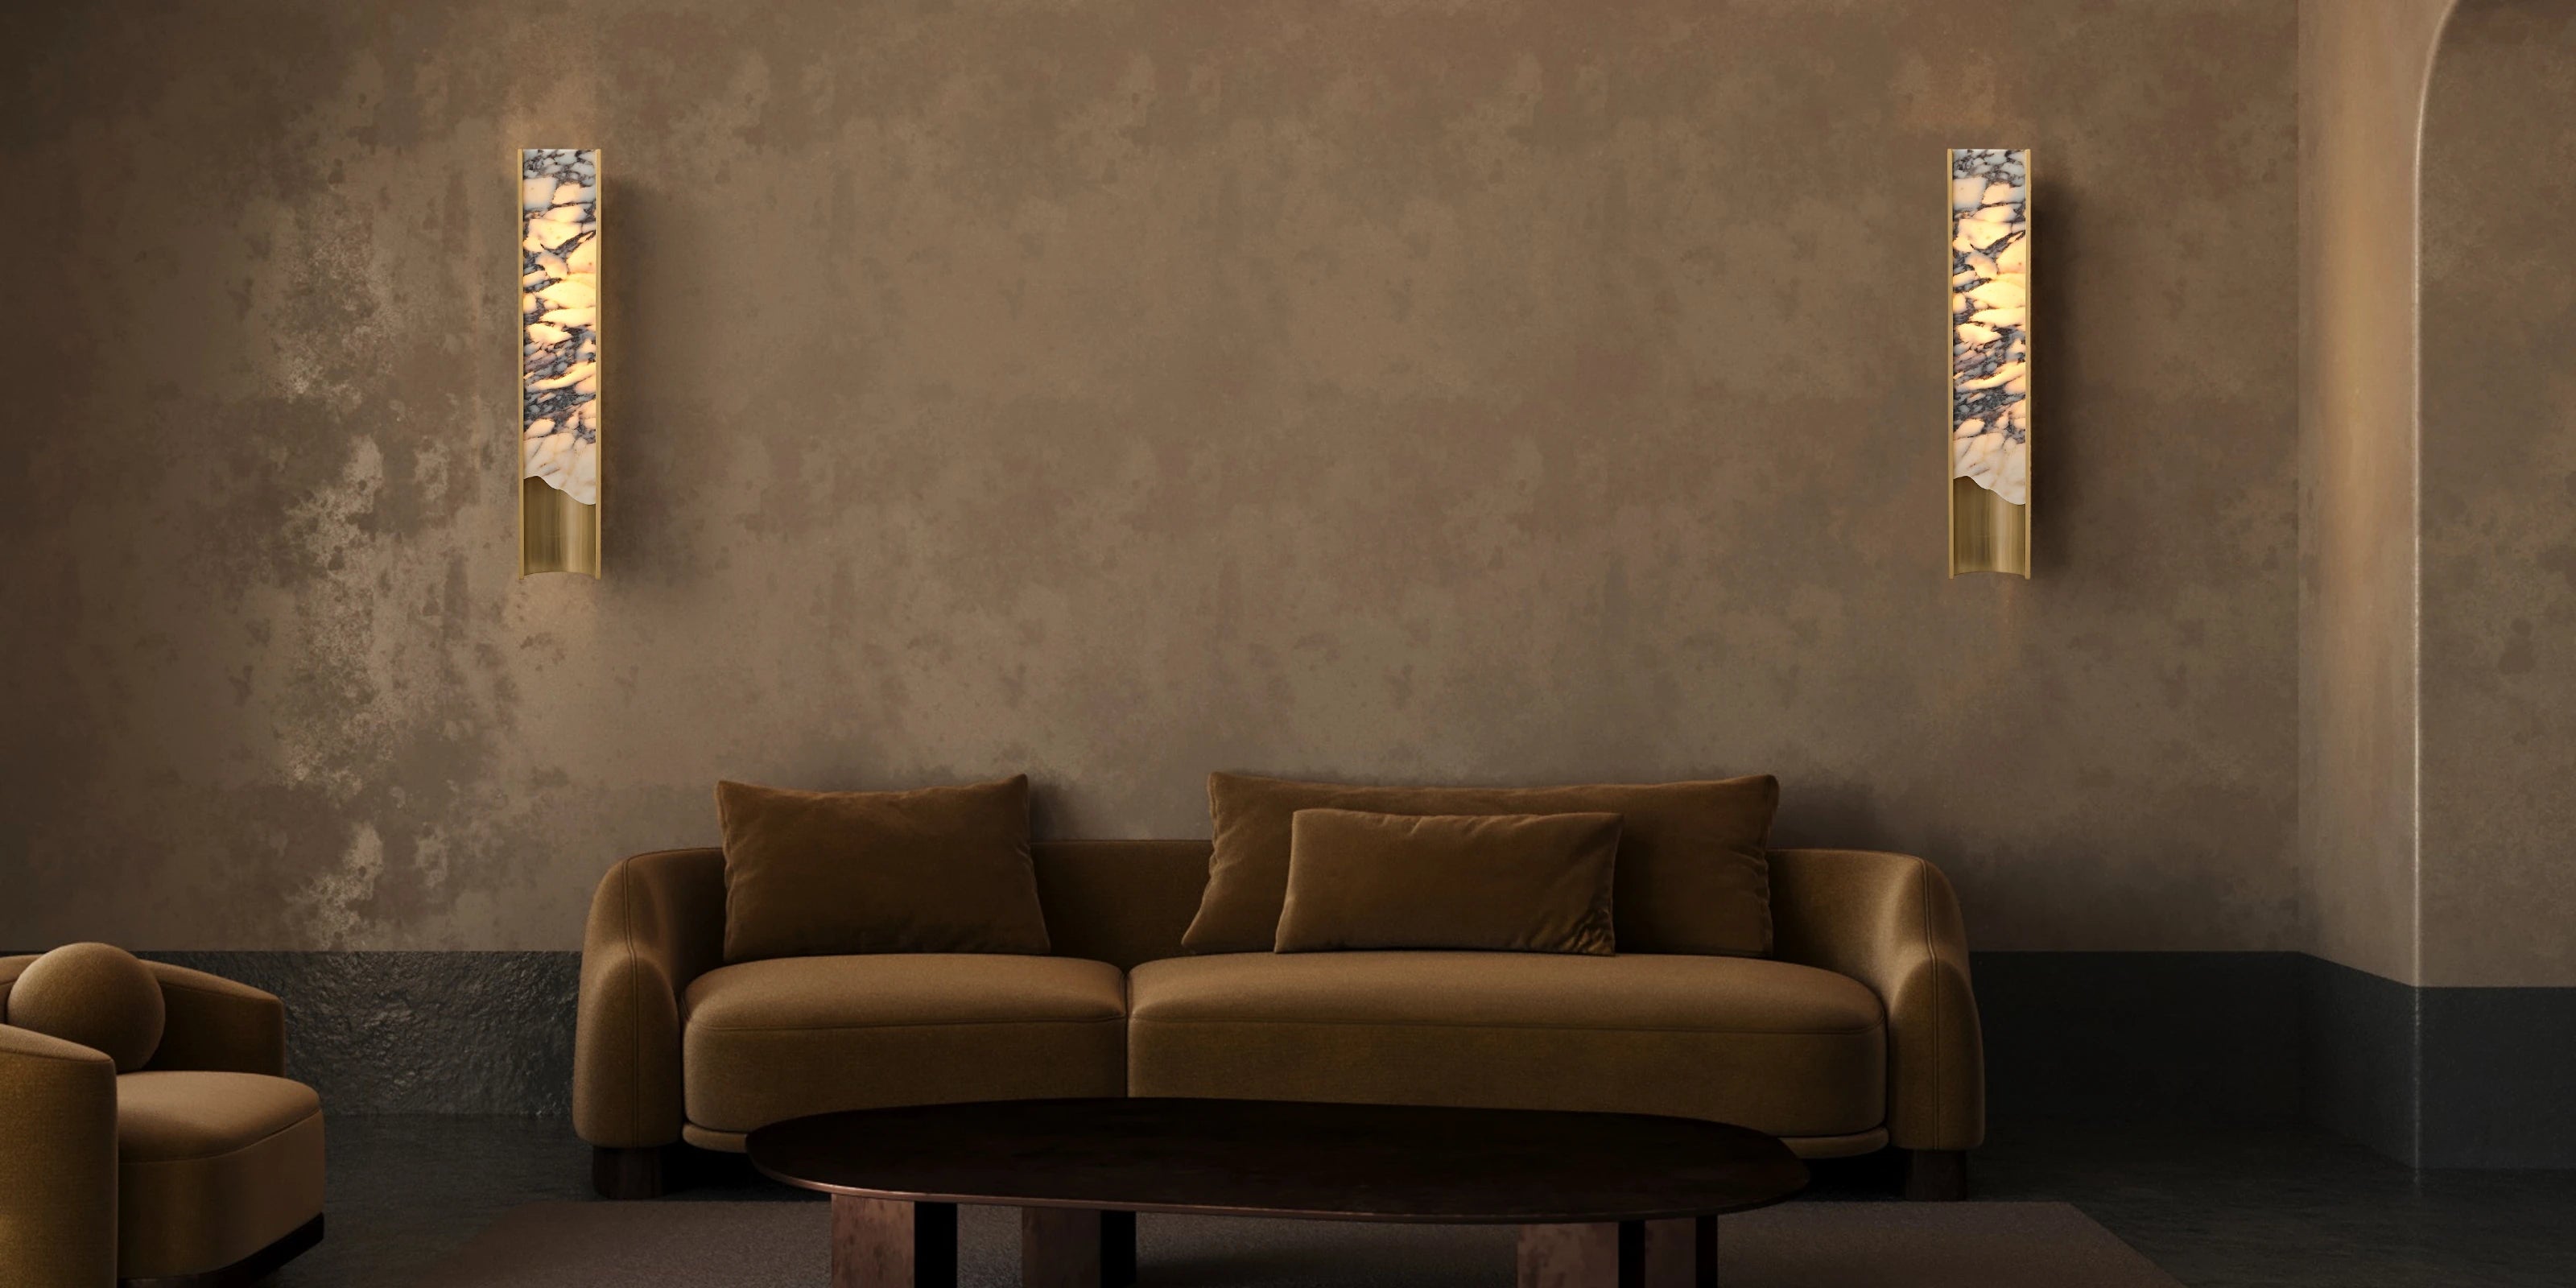
Shop Our Premium Lighting Collection
Explore our hand-selected bestsellers featuring crystal chandliers, pendant lights, wall scones and authentic alabaster stone:
How to Install Your Chandelier Step by Step
Hanging a chandelier is a little like putting together a puzzle. Here's how to put the pieces together without missing a beat.
Locking Down the Electrical Box
Safety and stability are key when it comes to your electrical box:
1. If you have an existing fixture, remove it and inspect the electrical box to ensure it can support the weight of the new chandelier.
2. Not sturdy enough? Replace it with a heavy-duty version, attaching it firmly to the ceiling joists with screws.
3. Make sure it's flush with the ceiling surface for a clean look and secure fit.
Assembling Your Chandelier
Some assembly required? No problem:
1. Follow the manufacturer's instructions carefully. Every chandelier is unique, so this step is crucial.
2. Lay out all the pieces before you begin to make sure nothing's missing.
3. Start from the top down - first, put together any canopy or chain elements, then the arms or sections of the body, and save the bulbs and delicate parts for last.
Chain or Cord Management
Getting the length just right makes all the difference:
1. Measure and adjust the chain or cord to your desired drop height from the ceiling (remember the standard height guidelines from earlier).
2. If necessary, remove links from the chain or shorten the cord, leaving extra to wire through the electrical box and canopy.
3. Be mindful of kinks and twists-these can cause damage over time.
Connecting the Wires
This part is critical-wiring must be done with care:
1. First, thread the chandelier wires up through the chain and canopy.
2. Connect the chandelier's wires to your home's wiring - typically, black or red to black (hot), white to white (neutral), and green or bare copper to green or bare copper (ground). Use wire connectors to secure them.
3. Gently tuck everything into the electrical box and fasten the canopy to the ceiling.
4. Turn the power back on at the breaker box and test your work before adding any finishing touches like crystals or shades.
Take your time with each step, double-checking connections and fittings as you go. If you're ever unsure, there's no harm in calling in a pro. Safety always comes first.
How to Adjust Your Chandelier for the Perfect Position
With your chandelier installed, it's time to fine-tune its placement for the perfect look and light.
Balancing Act: Table Setting and Centerpieces
Your chandelier should be the star of the show, but it also needs to play nice with table settings and centerpieces:
- Step back and look at the chandelier in relation to everything on the table. It shouldn't obstruct views across the table or clash with tall centerpieces.
- Adjust the height slightly if you plan on displaying taller items regularly so that there's harmony between the hanging light and table decor.
Lighting It Right: Brightness and Spread
Good lighting is all about the ambiance. Here are some tips to light up your life (or at least your table):
- Use bulbs that provide a warm, soft glow-not too harsh or dim.
- Consider adding a dimmer switch to control brightness for different occasions.
- Ensure the light is evenly distributed by checking for any shadows or dark spots-this might mean adjusting the angle or height just a bit.
The Personal Touch: Height Adjustments
Your chandelier should fit your space like a glove, and sometimes that means tweaking the rules:
- If you've got a tall family or just prefer more headroom, don't be afraid to hang the chandelier a little higher.
- For more intimate dining, bringing it lower can add to the coziness.
- Live with the chandelier for a few days before making final adjustments-you'll know if something feels off.
These final adjustments are about what feels best for your space. Trust your instincts-if it looks good to you, then it's probably just right.
How to Ensure Your Chandelier is Safe and Secure After Installation
With your chandelier hanging proudly, it's time to make sure everything is safe and looking its best.
Tight and Right: Safety First
Peace of mind comes from knowing your chandelier is secure:
- Give each connection point a gentle but firm tug to ensure nothing is loose.
- Check the stability of the electrical box-it shouldn't move or make any noise when touched.
- Double-check that all wire connectors are properly attached and that no wires are exposed.
Lined Up: Chandelier and Table Alignment
A well-aligned chandelier is key to a harmonious dining area:
- Look at your chandelier from different angles in the room to make sure it's directly above the table's center.
- Measure from the table ends up to the chandelier as a final check that it is centered.
- If you've moved the table during installation, now's the time to slide it back under the chandelier so that everything lines up perfectly.
Sparkle and Shine: Keeping It Clean
Your chandelier will look its best with a little TLC:
- Dust regularly with a soft microfiber cloth to avoid grime build-up.
- For glass or crystal parts, use a mild cleaner or a mix of vinegar and water for a spot-free shine.
- Keep spare bulbs on hand and replace them promptly to maintain even lighting.
By keeping your chandelier secure and well-maintained, you'll ensure it continues to be a focal point in your dining space for years to come. Now sit back and enjoy the ambiance it adds to every meal and memory made around the table.
Final Thoughts
Whether you're a confident DIYer or considering a chandelier for the first time, remember that the right choice and installation can transform your dining area into a place of beauty and warmth. By following the guidelines outlined-from size and style selection to safety checks and alternative hanging methods-you'll be equipped with the knowledge to ensure your chandelier not only casts the perfect light but also hangs with grace and safety. If ever in doubt, don't hesitate to call on professional help to get the job done right. With your new chandelier now securely in place, it's time to sit back, relax, and bask in the glow of your successful home project.


Leave a comment
This site is protected by hCaptcha and the hCaptcha Privacy Policy and Terms of Service apply.